Debugging asynchronous code in React can be tricky. Why? Because React's rendering lifecycle often clashes with async operations, leading to memory leaks, race conditions, and unhandled errors. Here’s a quick guide to solving these issues:
AbortController to cancel API requests when a component unmounts.try/catch or use .catch() to prevent app crashes.useReducer for predictable state updates and manage async dependencies carefully in useEffect.useEffect and use refs to access the latest state.waitFor and findBy queries to handle async behavior.Mastering these techniques can save you hours of debugging and ensure your React app runs smoothly. Let’s dive deeper into these solutions.
React developers often face a set of recurring challenges when dealing with asynchronous operations. These challenges stem from the intricate relationship between JavaScript's async behavior and React's component lifecycle. Let’s dive into some of the common pitfalls and how to address them effectively.
One frequent issue arises when React's rendering lifecycle doesn't align smoothly with asynchronous operations. For instance, if a component unmounts while an async operation is still running, it can result in memory leaks or crashes. This problem is particularly common in cases where outdated lifecycle methods are used, as they may promote patterns that don't mesh well with React's async rendering behavior [2].
A related challenge involves inconsistent async patterns, such as mixing promises with async/await or using await in non-async functions. These practices can lead to unpredictable behavior [1]. Additionally, if an async function continues executing after a component has unmounted, it might attempt to update state on a component that no longer exists, triggering warnings or memory leaks [3].
To avoid these problems, it's best to:
componentWillMount to componentDidMount [2].getDerivedStateFromProps to update state based on prop changes.componentDidUpdate for handling side effects after updates.Unhandled promise rejections are another common pain point. During development, they may fail silently, but in production, they can cause significant issues like memory leaks or application crashes. A promise becomes unhandled when it is rejected without an associated error handler, such as a .catch() block or an error callback in .then() [4]. In Node.js 15.0.0 and later, unhandled promise rejections may even cause the process to exit with a non-zero code [4].
Some typical mistakes include forgetting to return promises or neglecting to handle rejections in async/await or .catch() methods [4]. In React Native, this often happens when network requests fail without proper error handling [5]. For instance, if a fetch request fails due to an incorrect URL and no error handler is provided, a warning about an unhandled promise rejection may appear [5].
To prevent these issues:
try/catch blocks with async/await or .catch() in promise chains.Race conditions occur when multiple asynchronous processes try to access or modify shared data simultaneously, leading to unpredictable or inconsistent results. In React, this can happen when rapid prop changes trigger overlapping requests that update state unpredictably [6][7]. Because React's state updates and re-renders are inherently asynchronous, race conditions can be tricky to debug and reproduce.
To minimize these risks, carefully manage state updates that depend on asynchronous processes. Coordinating these updates can help maintain consistent behavior.
Stale closures in the useEffect hook are another subtle issue that can lead to persistent bugs. This happens when asynchronous callbacks inside useEffect capture outdated state or props from a previous render, causing behavior that doesn't align with the current state of the component. Poor error handling can make these problems even harder to detect.
To tackle stale closures:
await is properly declared as async.useEffect, making sure they include all necessary dependencies.await with promises, as awaiting non-promise values can result in unexpected timing issues [1].Now that we’ve covered the main challenges of working with async code in React, let’s dive into some practical solutions. These techniques can help you build more reliable applications while making your debugging workflow smoother.
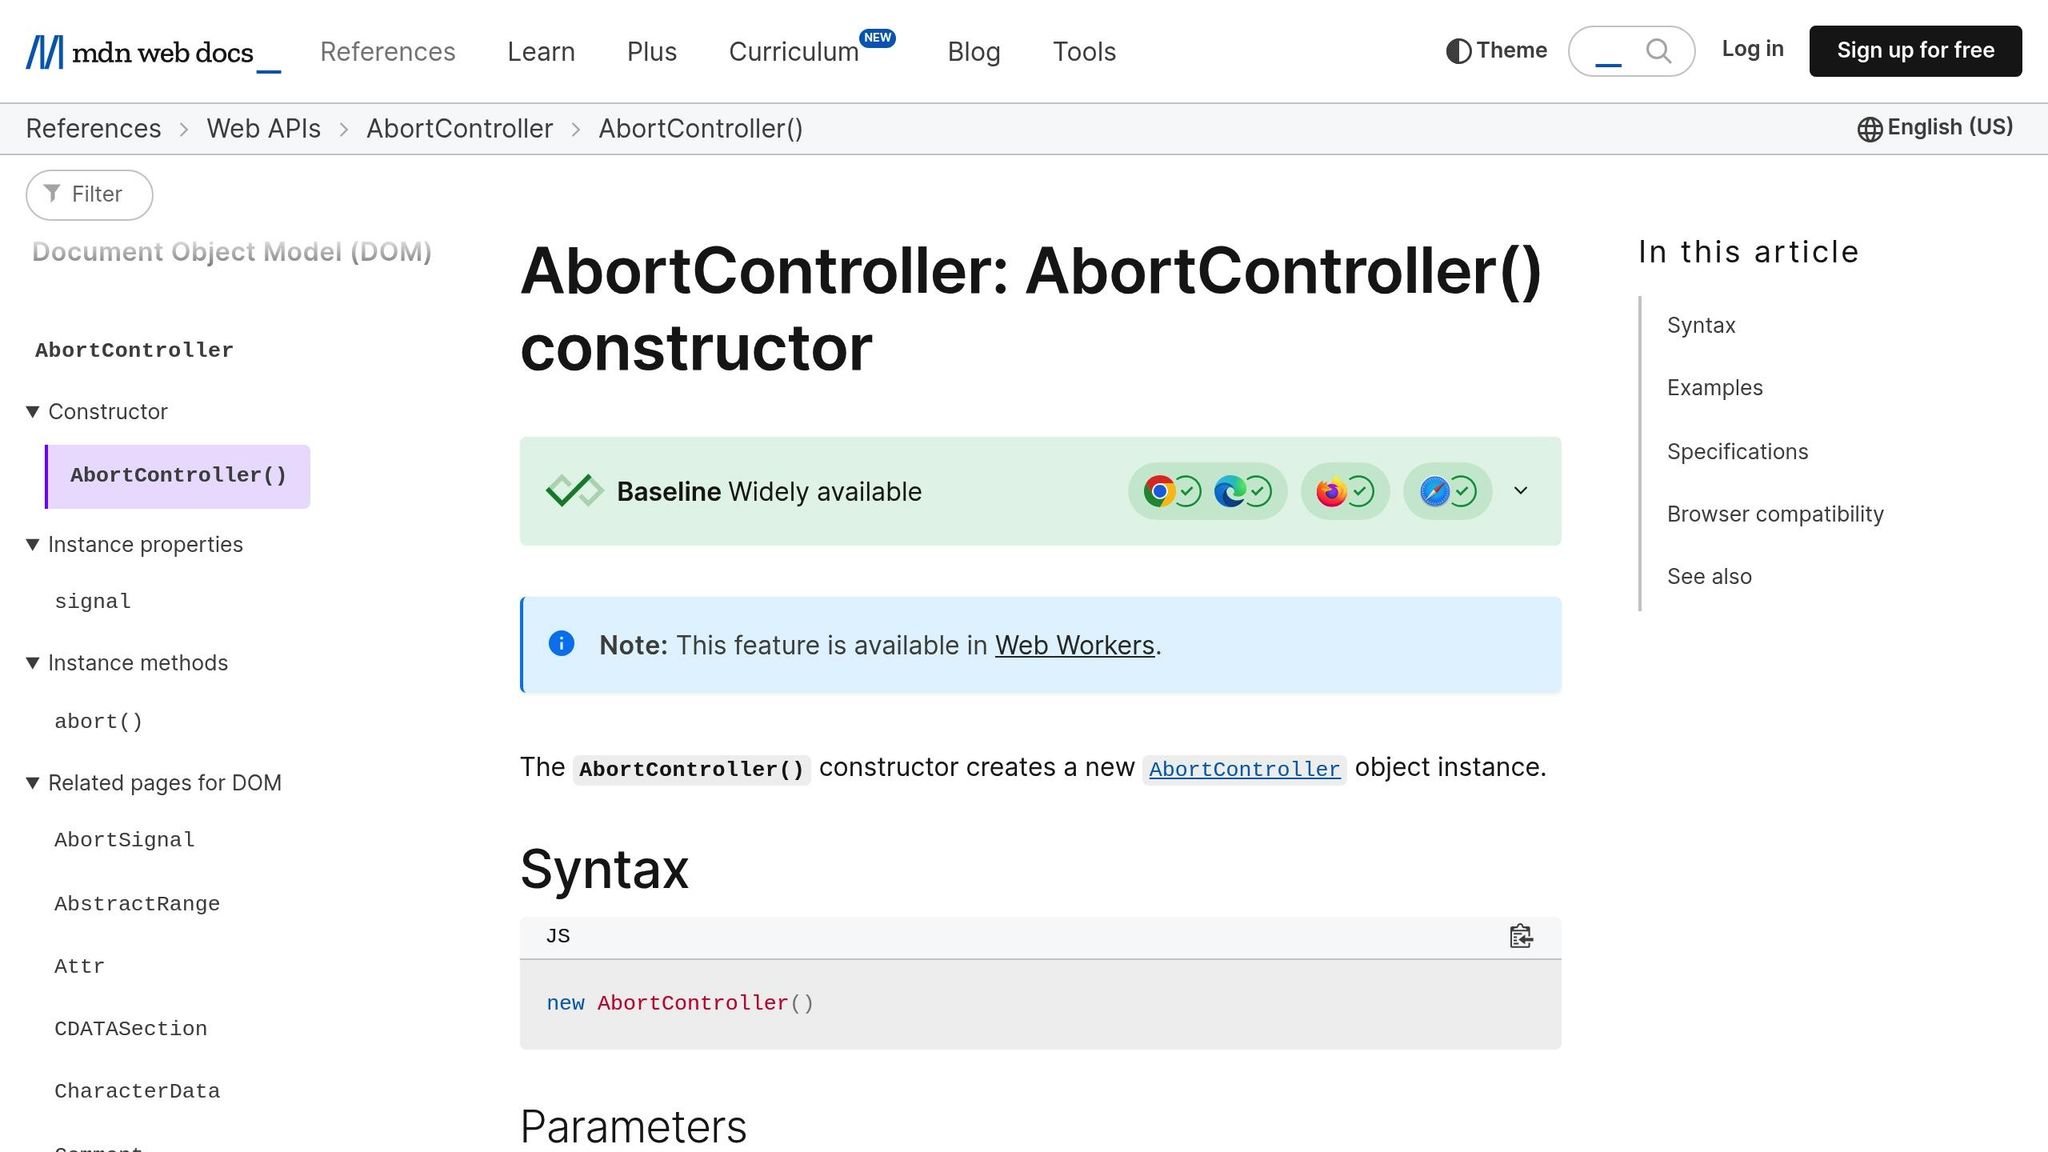
When dealing with API requests, AbortController is a handy tool for canceling fetch calls that are no longer needed. This can help you avoid memory leaks, especially when a component unmounts before the request finishes.
Here’s how it works: you create an AbortController instance and pass its signal property to your fetch request. If you call the abort() method, the fetch promise will reject with an AbortError [8][9]. This gives you precise control over canceling requests.
For example, in a useEffect hook, you can:
AbortController.abort() in the cleanup function to cancel the request if the component unmounts.Make sure to handle the AbortError in your catch block so you can differentiate it from other error types [10]. This approach is particularly useful in scenarios where a user navigates away before a slow HTTP response arrives. By canceling the request and any related processing, you can keep your app efficient and avoid unnecessary errors [10].
Now, let’s look at how you can handle errors more effectively using error boundaries.
Error boundaries are a great way to catch JavaScript errors in your components and display fallback UIs instead of breaking the entire app. But what about async errors? You can handle those too by combining error boundaries with .catch() or try/catch.
The react-error-boundary library simplifies this process. Its useErrorBoundary hook allows you to trigger an error boundary by calling showBoundary(error) when an async operation fails [12]. This makes it easier to manage errors and maintain a polished user experience.
For better control, consider wrapping smaller parts of your component tree - like dashboards, forms, or sidebars - instead of the whole app [11]. This way, a failure in one section doesn’t disrupt the rest of the interface. Also, design fallback UIs that are not only user-friendly but also informative. You can even use lifecycle methods like componentDidCatch to log errors to monitoring tools for better visibility [11].
While error boundaries help with unexpected issues, managing state effectively can prevent many async bugs in the first place.
When it comes to managing complex state or avoiding race conditions, useReducer is a powerful alternative to useState. It centralizes state updates into a single reducer function, ensuring that changes happen in a predictable and atomic way [14].
Unlike useState, which can sometimes lead to stale state issues, useReducer processes all updates through one function. This is especially helpful when multiple pieces of state depend on each other or involve intricate logic [13].
For instance, imagine a counter app that tracks both the current count and a history of changes. Using useState for both can lead to out-of-sync updates. But with useReducer, you can bundle these updates into a single action, keeping everything consistent [14]. Plus, because the reducer function always works with the latest state, it avoids the closure problems that often occur with rapid async updates.
Properly managing dependencies in useEffect is another key to avoiding async issues. Always include all relevant dependencies in the dependency array, and use cleanup functions to handle any lingering operations. This helps prevent many of the pitfalls we discussed earlier.
One useful trick is to store the latest values your async callbacks need in refs. That way, even if a callback was created with outdated data, it can still access the most current values. This is especially helpful when canceling the async operation isn’t an option.
Finally, if you’re working with intervals or timeouts inside useEffect, always clear them in the cleanup function. This ensures you avoid memory leaks and unexpected behavior when the component unmounts.
To ensure your async operations work correctly, pair robust debugging with thorough testing. Testing asynchronous code can be tricky, but by using controlled strategies for timers, API calls, and other async behaviors, you can keep your tests both fast and reliable.
Real timers like setTimeout or setInterval can make tests unpredictable or slow. Mocked timers solve this by replacing real timer functions with controllable alternatives, ensuring consistent results.
Jest offers tools to manage time in your tests. Start by calling jest.useFakeTimers() to replace real timers with mock versions. Then, use jest.runAllTimers() to fast-forward through all pending timers or jest.advanceTimersByTime(msToRun) to move time forward by a specific amount.
For example, imagine testing a toast notification that disappears after 3 seconds. The component displays a success message and removes it from the DOM using setTimeout(). In your test, use jest.useFakeTimers() and jest.spyOn(global, "setTimeout") to control the timing. Wrap jest.runAllTimers() inside React's act() function to fast-forward the timers, allowing you to immediately verify that the notification has been removed.
To clean up after each test, call jest.runOnlyPendingTimers() and switch back to real timers with jest.useRealTimers() in an afterEach hook.
React Testing Library offers tools like findBy queries and the waitFor function to handle asynchronous behavior without relying on arbitrary delays.
findBy Queries: These combine the functionality of getBy queries with built-in waiting. They’re perfect when you expect an element to appear after some delay. Unlike getBy, which throws an error if the element isn’t found, findBy returns a Promise and keeps retrying until the element appears. For instance, after triggering an API call, you can use await findByText('Data loaded successfully') to wait for a success message.
waitFor: This function is more flexible, allowing you to repeatedly check assertions until they pass or time out. It’s ideal for verifying multiple conditions or checking elements that update asynchronously. Inside waitFor, the callback should throw an error if the condition isn’t met, signaling that the test needs to keep waiting. If you're checking for the removal of an element, use a queryBy method within waitFor, as it returns null instead of throwing an error when the element isn’t found.
Set appropriate timeout values to match your app's behavior and handle potential timeout errors gracefully.
Lastly, to make your tests predictable and independent of external systems, mock external dependencies like API calls. Tools like Mock Service Worker (MSW) can intercept requests to endpoints (e.g., /api/data) and return controlled responses. This allows you to focus on testing your component's behavior without worrying about real network conditions or server responses.
Debugging asynchronous code in React becomes much easier when you grasp the basics of how React's rendering process interacts with async operations. The key challenge lies in managing the occasional misalignment between React's rendering lifecycle and asynchronous tasks.
To handle async errors effectively, rely on try/catch blocks or the .catch() method. These approaches help you catch and manage errors, preventing unhandled rejections that could crash your app. Memory management is another area to watch closely - using tools like AbortController allows you to cancel API requests when a component unmounts. This not only avoids memory leaks but also reduces server load, especially in apps that make frequent API calls.
Another common challenge is dealing with race conditions and stale closures in useEffect. Understanding the timing of state updates in relation to your async operations can help you sidestep these issues. A clear grasp of when and how state changes occur will save you from chasing down tricky bugs later.
Having the right tools in your toolkit makes a big difference. Error boundaries act as safety nets for your React components, catching errors at the component level. For managing complex state logic, useReducer helps ensure updates happen in a predictable and consistent manner. When it comes to performance, consider using Promise.all() to run multiple async calls at the same time, rather than one after another, to improve efficiency.
Finally, robust error handling and thorough testing are non-negotiable. Techniques like mocked timers and controlled async testing can help you simulate various scenarios, ensuring your async code performs reliably across different environments and user interactions.
When working with asynchronous code in React, preventing memory leaks is all about cleaning up resources properly when a component unmounts. The useEffect hook is your go-to tool for this. Specifically, its cleanup function lets you handle ongoing tasks like API calls or timers, ensuring they don't continue or try to update state after the component is gone.
One practical method is to use a flag that tracks whether the component is still mounted. Before updating the state after an async operation, check this flag to confirm the component is still active. This simple check can save you from those frustrating "can't perform a React state update on an unmounted component" warnings.
Another key practice? Always clean up any subscriptions or event listeners that your component sets up. For instance, if you add an event listener inside a useEffect, make sure the cleanup function removes it when the component unmounts. This proactive approach keeps your app running smoothly and avoids unnecessary memory usage.
By staying mindful of these techniques, you'll keep your React app efficient and free of memory leaks.
Dealing with errors in asynchronous React code is crucial to keeping your app running smoothly and avoiding crashes. Here are a couple of effective strategies to manage errors effectively:
try/catch with async/await: Wrapping your asynchronous operations in try/catch blocks helps you catch errors early. This way, you can handle issues gracefully by providing clear error messages or displaying a fallback UI, making the experience less jarring for users.
Combining these methods ensures that even when things go wrong, your app remains stable and user-friendly.
To better manage state updates in asynchronous React apps, the useReducer hook can be a powerful tool. It allows you to centralize your state logic, making transitions between different states more predictable and easier to follow. By defining specific actions for each stage of your asynchronous process - like loading, success, and error - you can create a more structured and maintainable flow.
For instance, when initiating an async operation (such as fetching data), you can dispatch a LOADING action to reflect the current state. Once the operation finishes, you’d dispatch either a SUCCESS or ERROR action, including any relevant data or error details in the payload. The reducer function then handles these actions, updating the state in a clear and consistent way.
This method not only keeps your code well-organized but also aligns with functional programming principles. Plus, it simplifies debugging by consolidating all state updates into a single, traceable location.
Let's level up your business together.
Our friendly team would love to hear from you.
